Depending on how you are viewing an image on Facebook, the reporting button may or may not be initially visible or accessible. Whilst the report button varies by interface however, the reporting process itself is subsequently consistent.
Step 1A: Timeline view
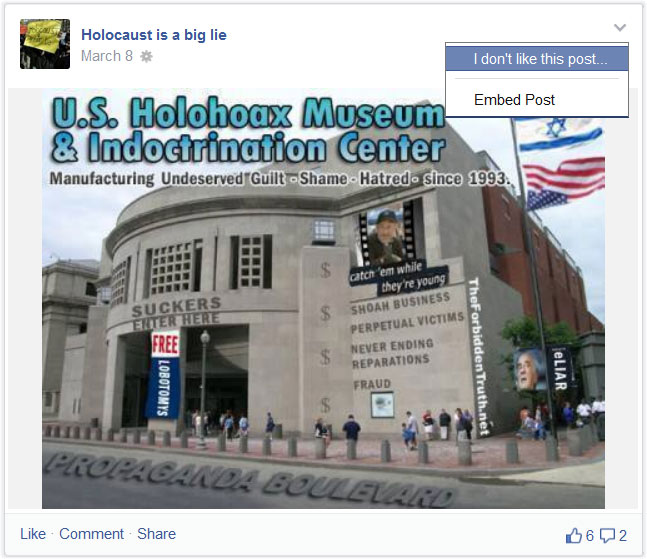
- When viewing an image as a post on a Facebook timeline, move the cursor over the post to reveal a chevron (v shape) at the top right of the post.
- Click the chevron to reveal the post options, then click I don’t like this post…
Step 1B: Popup view
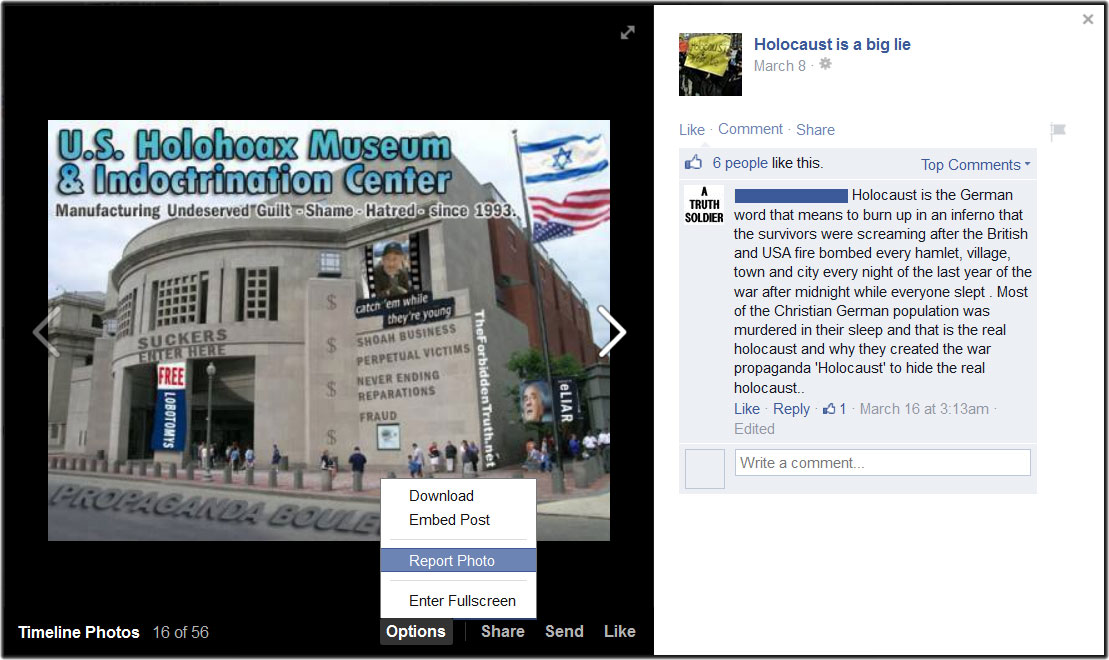
- When viewing an image as a popup (usually by clicking on a post on a Facebook timeline), move the cursor to the bottom of the image.*
- Click Options to reveal the image options, then click Report Photo.
*The popup view does not always show the bottom options by default, in which case moving the cursor to where they would appear underneath the image will make them visible. They may take a few seconds to appear due to how the page loads and displays.
Step 1C: Album view
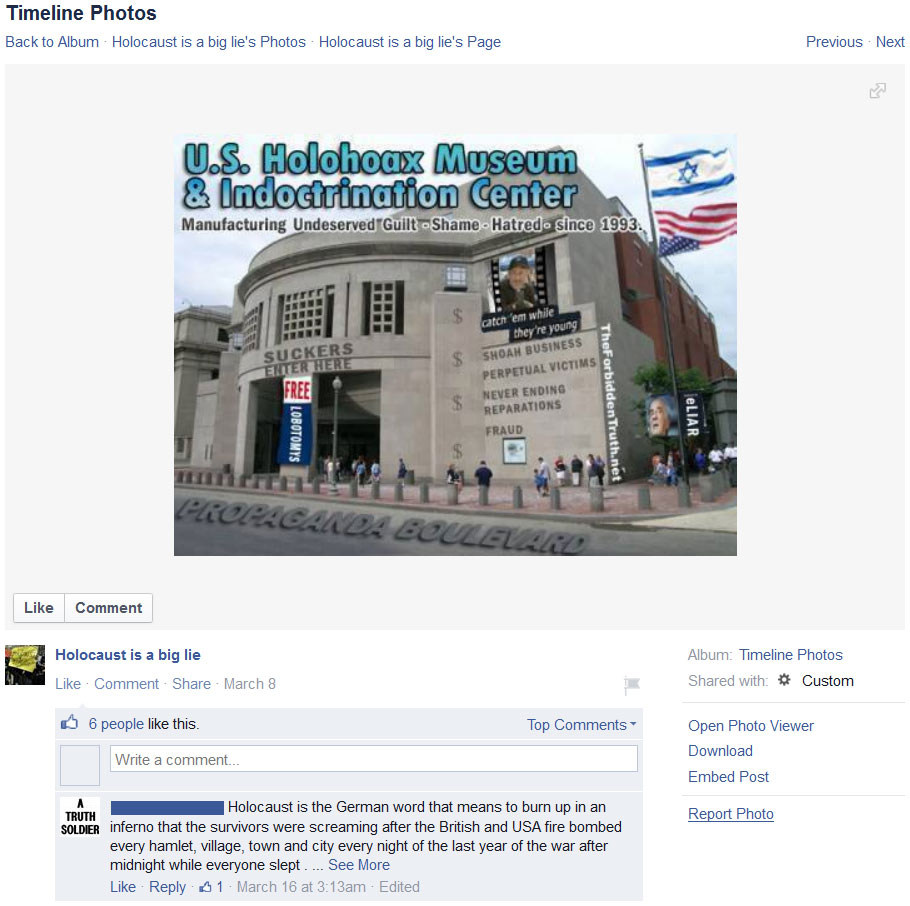
- When viewing an image directly, such as from the album view, the options are visible underneath the image by default, to the right of the image comments.
- Click Report Photo.
Step 2
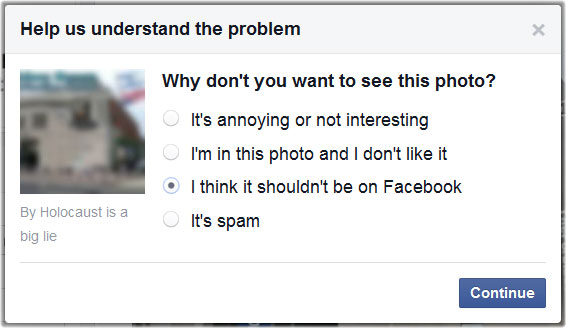
- Click I think it shouldn’t be on Facebook, then click Continue.
Step 3
At this point, if the content is targeting you personally use 3A, if it is hate speech e.g. racism, religious vilification, homophobia, misogyny, etc use 3B:
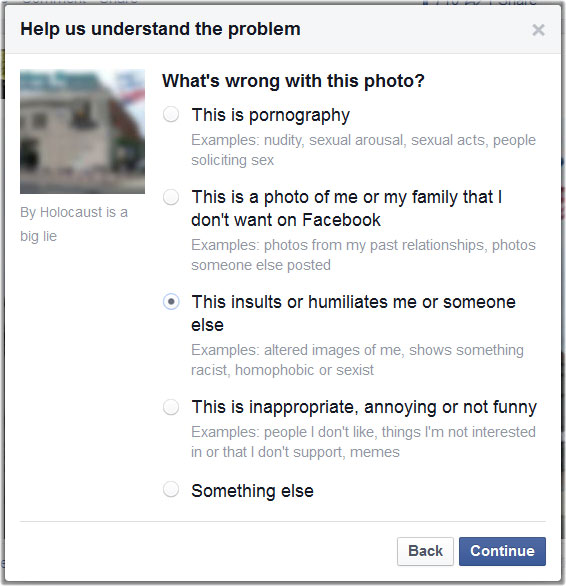
Step 3A
- Click This insults or humiliates me or someone else, then click Continue.
Step 3B
- Click Something Else, then click Continue
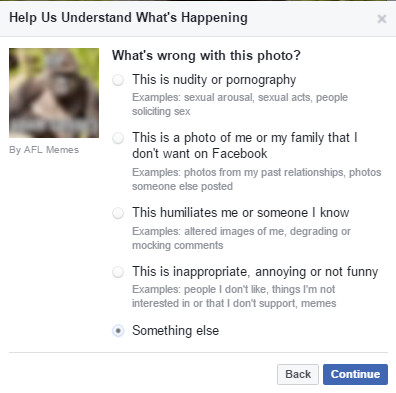
- Click This insults or attacks someone based on their religion, ethnicity or sexual orientation then click Continue

Continue with Step 3 (both A and B)
After clicking Continue there is still one more step in registering your complaint with Facebook.
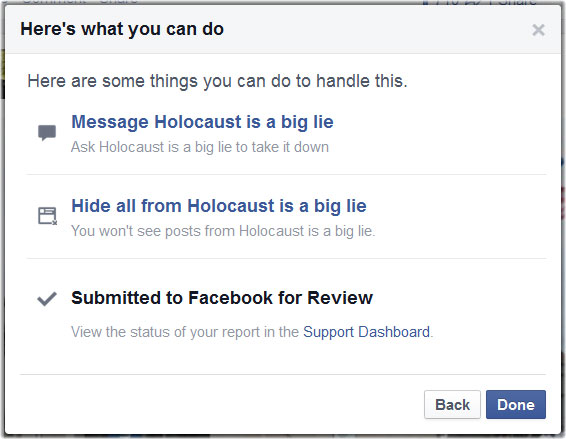
Before Facebook accepts a report, it presents an additional dialogue encouraging other options.
Do not attempt to message the person who uploaded the content!
If the content was posted with the intention to offend (as is often the case when dealing with internet ‘trolls’), and the offending party is engaged in direct communication, then complaining to them may result in you being targeted for more personal harassment!
Step 4
- Click Submit to Facebook for Review.

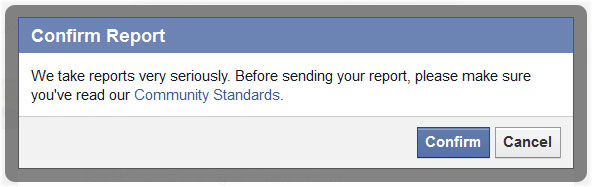
If you have reported several items over a relatively short period of time, Facebook may insert an extra confirmation step to prevent spam.
Step 4 extra
- Click Confirm to submit the report.
Step 5
- Once the report has been submitted you can click Done to close the reporting interface.
Don’t be discouraged if you receive an initial response that Facebook believes the content did not breach their community standards. They usually get it wrong, even for the most obvious cases, as it is only after a review (which may automatically occur a few days later) that many items are closed.
Once the report has been submitted to Facebook it may take some time to receive a response, though priority could well be given to reports of potentially litigious content such as impersonating public figures or organisations, direct targeting of companies or individuals, or reports made by high profile entities themselves.
The current status of the report, as well as a record of your previous reports, is available to view under your Support Dashboard, which can be accessed via the menu on your Settings page.
For our entire list of reporting guides for Facebook, YouTube and Twitter, go here.